Cinematic Camera Extended lets you set waypoints for the camera in Cities: Skylines, change the field of view at each point and play the path back as a smooth flight. Recapture a waypoint to fix it, add more for longer shots, and save the path so you can record it again. Record the playback with OBS or Streamlabs.
準備 · What you need
- Cinematic Camera Extended ↗
- OBS Studio ↗ — free screen recording — or Streamlabs
Cinematic camera flights are what make city videos look professional: slow pans across a skyline, a flight along a railway, a descent into a station square. The animations in this channel’s tutorials and Let’s Plays are made with Cinematic Camera Extended. This guide covers how it works and what makes a shot look good.
How it works
You place waypoints: camera positions, each with its own angle and field of view. The mod then flies smoothly from one to the next. Because the movement is calculated, it’s far smoother than anything you can do with a mouse.
Step by step
- Install the mod (0:40) and open its panel in game.
- Fly to the start of your shot and add the first waypoint (1:36).
- Move the camera to the next position and add another. Two waypoints already give you a clean pan.
- Recapture a waypoint (4:35) to correct its position or angle without rebuilding the path.
- Add more waypoints (5:03) for longer or more complex shots.
- Play the animation (6:20) and record it with OBS Studio or Streamlabs.
- Save the path (7:20) so you can load it again later.
What makes a good shot
- Slow down. Almost every first attempt is too fast. Viewers need time to see what you built.
- Fewer waypoints, smoother flights. Every extra point is a chance for a wobble.
- Lead with movement. Start moving before the interesting part comes into view, not on top of it.
- Use the field of view. A narrower FOV compresses distance and makes skylines look denser; a wider one feels dramatic close to the ground.
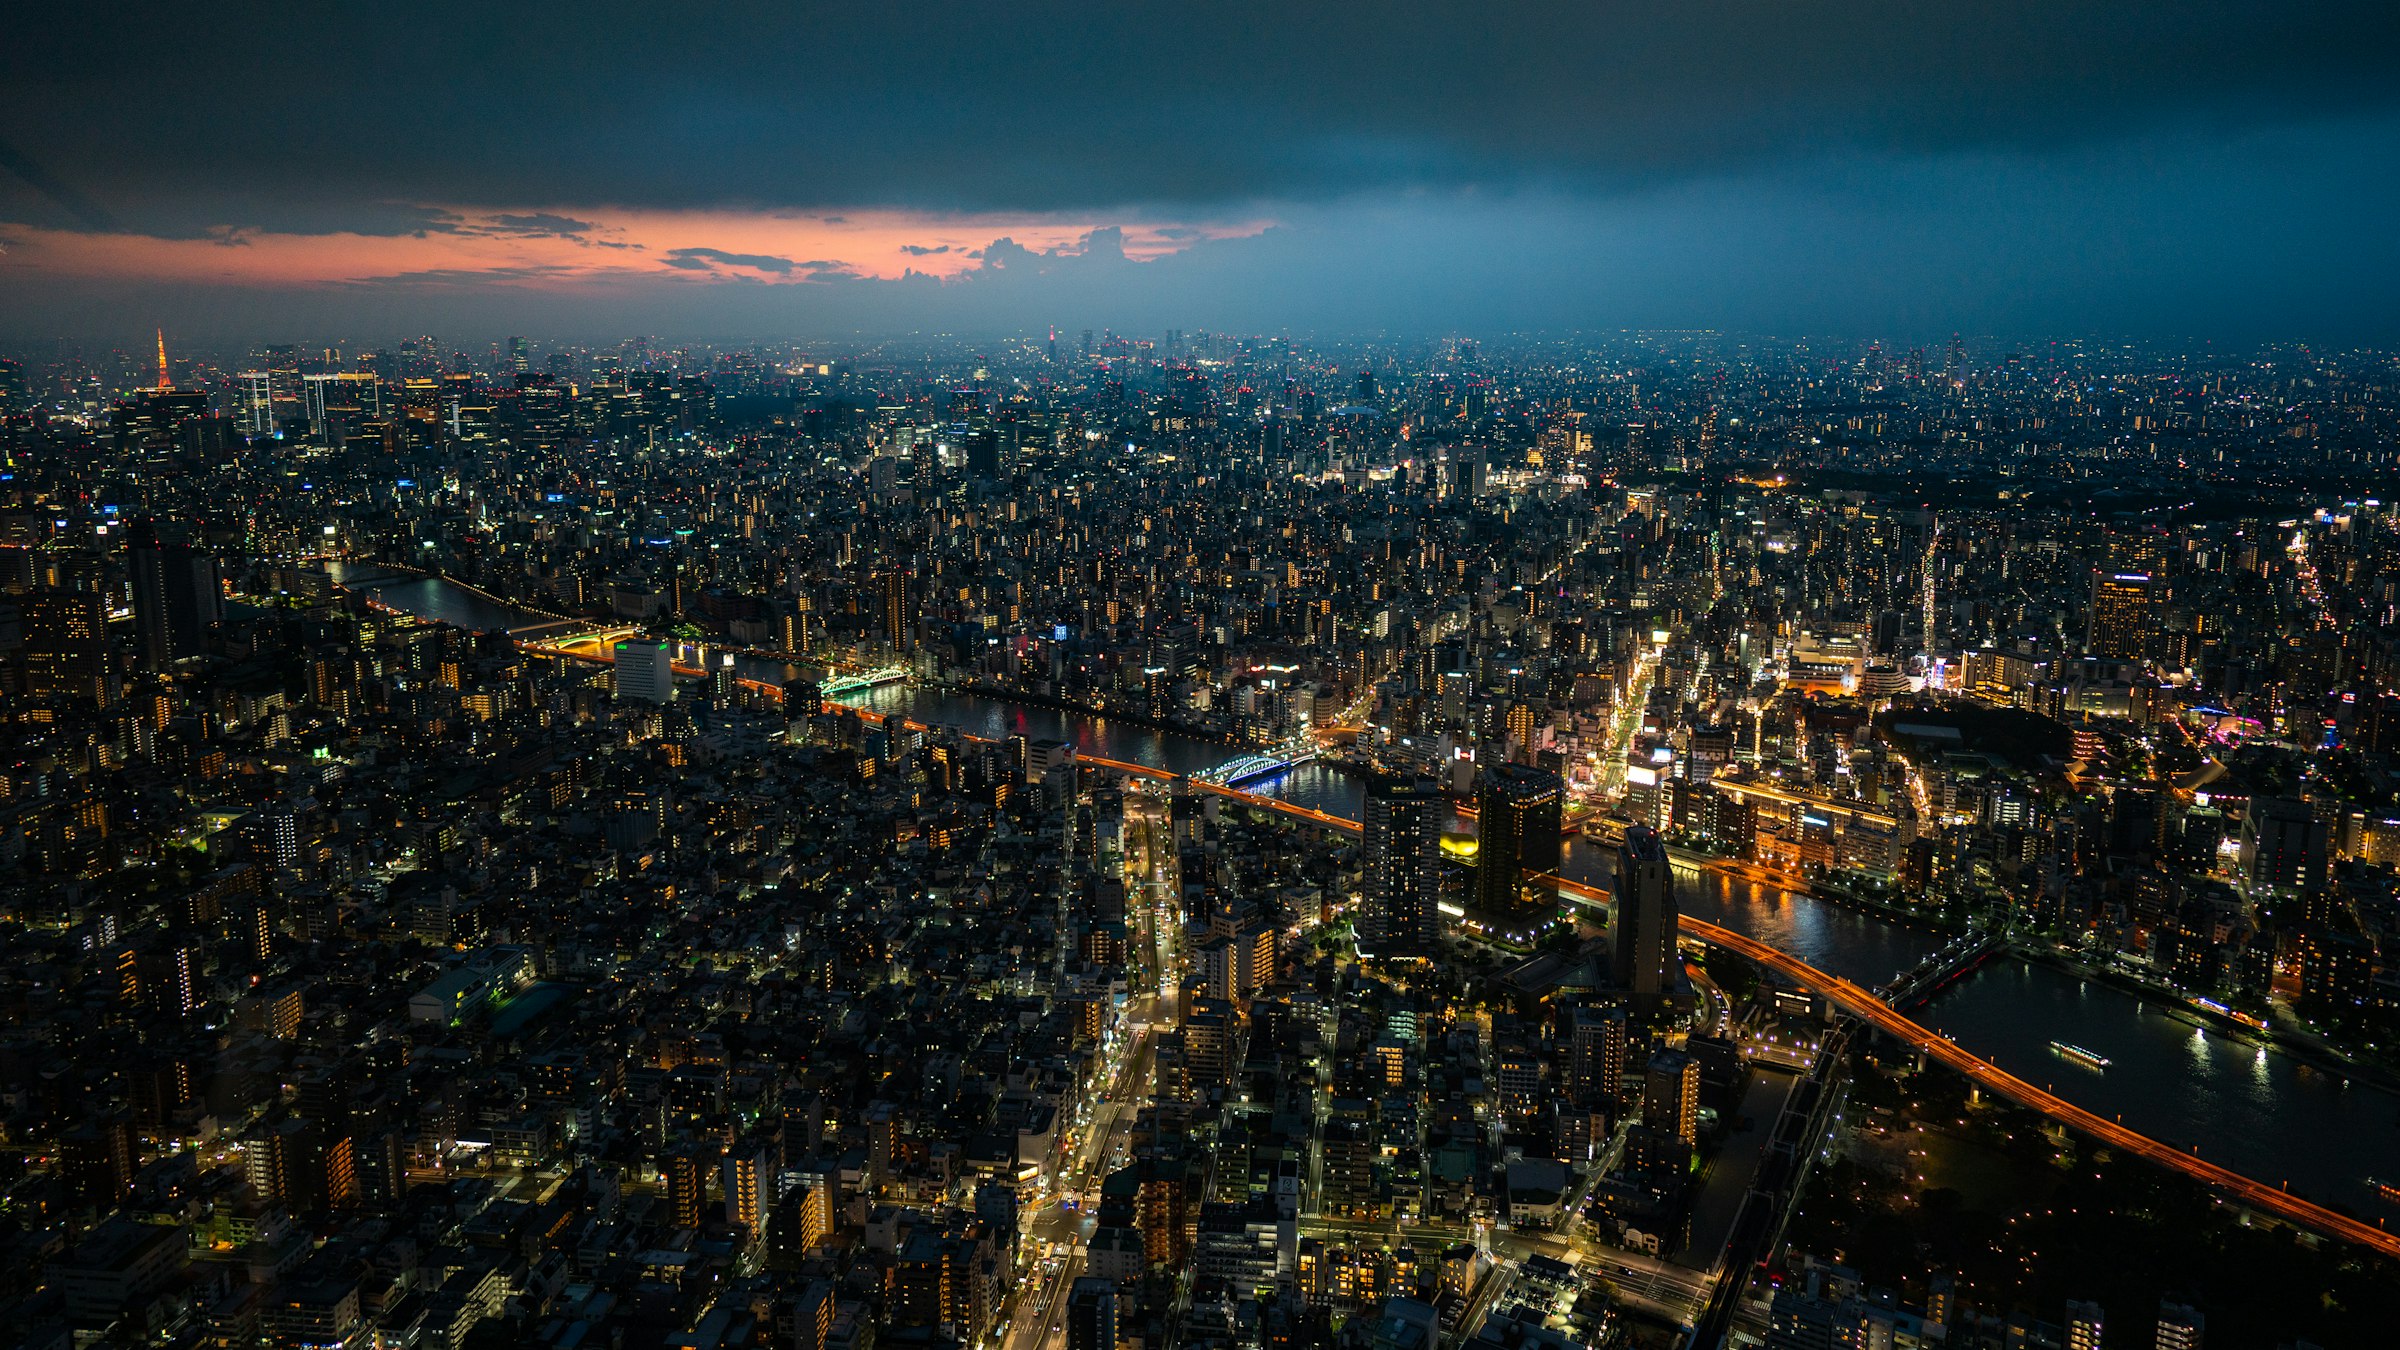
- Light matters. Golden hour and night shots hide imperfections and add mood.
Recording tips
- Hide the UI before recording.
- Pause the simulation for clean shots, or let it run for traffic and life.
- Record at the highest quality your PC can handle, then export lower. Footage can always be scaled down.
- Reuse paths for before-and-after comparisons: the same flight over the same district, months apart. Saved paths make that trivial.
In Cities: Skylines II
CS2 has a built-in photo mode. For walking-level footage, the channel uses First Person Camera Continued, and Time & Weather Anarchy to set the light; both are in the CS2 Mod Stack.
Video chapters
- 0:00Intro
- 0:40Installing Cinematic Camera Extended
- 1:36Explaining the tool
- 4:35Recapturing specific waypoints
- 5:03Adding more waypoints
- 6:20Playing the animation
- 7:20Saving and loading a finished path
Clicking a chapter starts the video above at that point.
FAQ
How do I make smooth camera flights in Cities: Skylines?
Use Cinematic Camera Extended: set waypoints along the route, adjust each one and play the path back while you record.
Can I reuse a camera path?
Yes. Save the finished path and load it again later — useful for before-and-after shots from exactly the same angle.
What software do you use to record Cities: Skylines?
OBS Studio or Streamlabs for recording; the camera movement itself comes from the Cinematic Camera Extended mod.
Why does my camera flight wobble?
Usually too many waypoints close together, or waypoints with very different angles. Remove points and keep angle changes gradual.