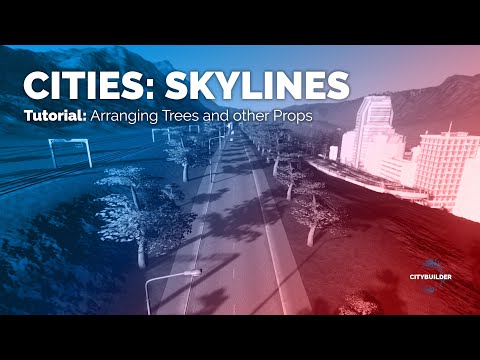
Custom highway signs in Cities: Skylines need three mods — Find It, Move It and Procedural Objects. Place a gantry over the road, add a Dynamic Message Sign, convert the sign into a Procedural Object and type your own text on it. Move It lines everything up; Procedural Objects handles the text.
準備 · What you need
- Procedural Objects ↗ — required — turns props into editable objects with text
- Fonts for Procedural Objects ↗
- Modules for Procedural Objects ↗
- Find It ↗ — required — finds the assets in game
- Move It ↗ — required — precise placement
- Dynamic Message Signs ↗
- Animated Dynamic Message Signs ↗
- Truss Gantry Network ↗ — activate all its included assets
- Monotube Gantry Network ↗ — activate all its included assets
Custom highway signs are one of the details that make a city feel real: the right destinations above the right lanes. This tutorial shows how to put your own text on them in Cities: Skylines 1. It is one of the channel’s most-watched tutorials.
Mods and assets
Three mods are required: Find It to locate assets, Move It to place them precisely and Procedural Objects to edit the text. The gantries and signs are assets — pick the ones you like. If you use the gantry networks from the video, activate every asset that comes with them, otherwise the game shows errors.
Step by step
- Place the gantry. Find it with Find It and put it across the highway (6:48).
- Align it with Move It — height, angle and position over the lanes (7:39).
- Place a Dynamic Message Sign on the gantry (9:11).
- Convert it into a Procedural Object (9:21). This is the step that makes the text editable.
- Move the Procedural Object into the right position — it now moves with the Procedural Objects tools, not Move It (9:48).
- Add your text in the Procedural Objects editor (12:31): destinations, route numbers, distances.
Tips for realistic signs
- Keep it short. Real signs carry two or three destinations at most.
- Match the lanes. Each panel should sit above the lanes it describes.
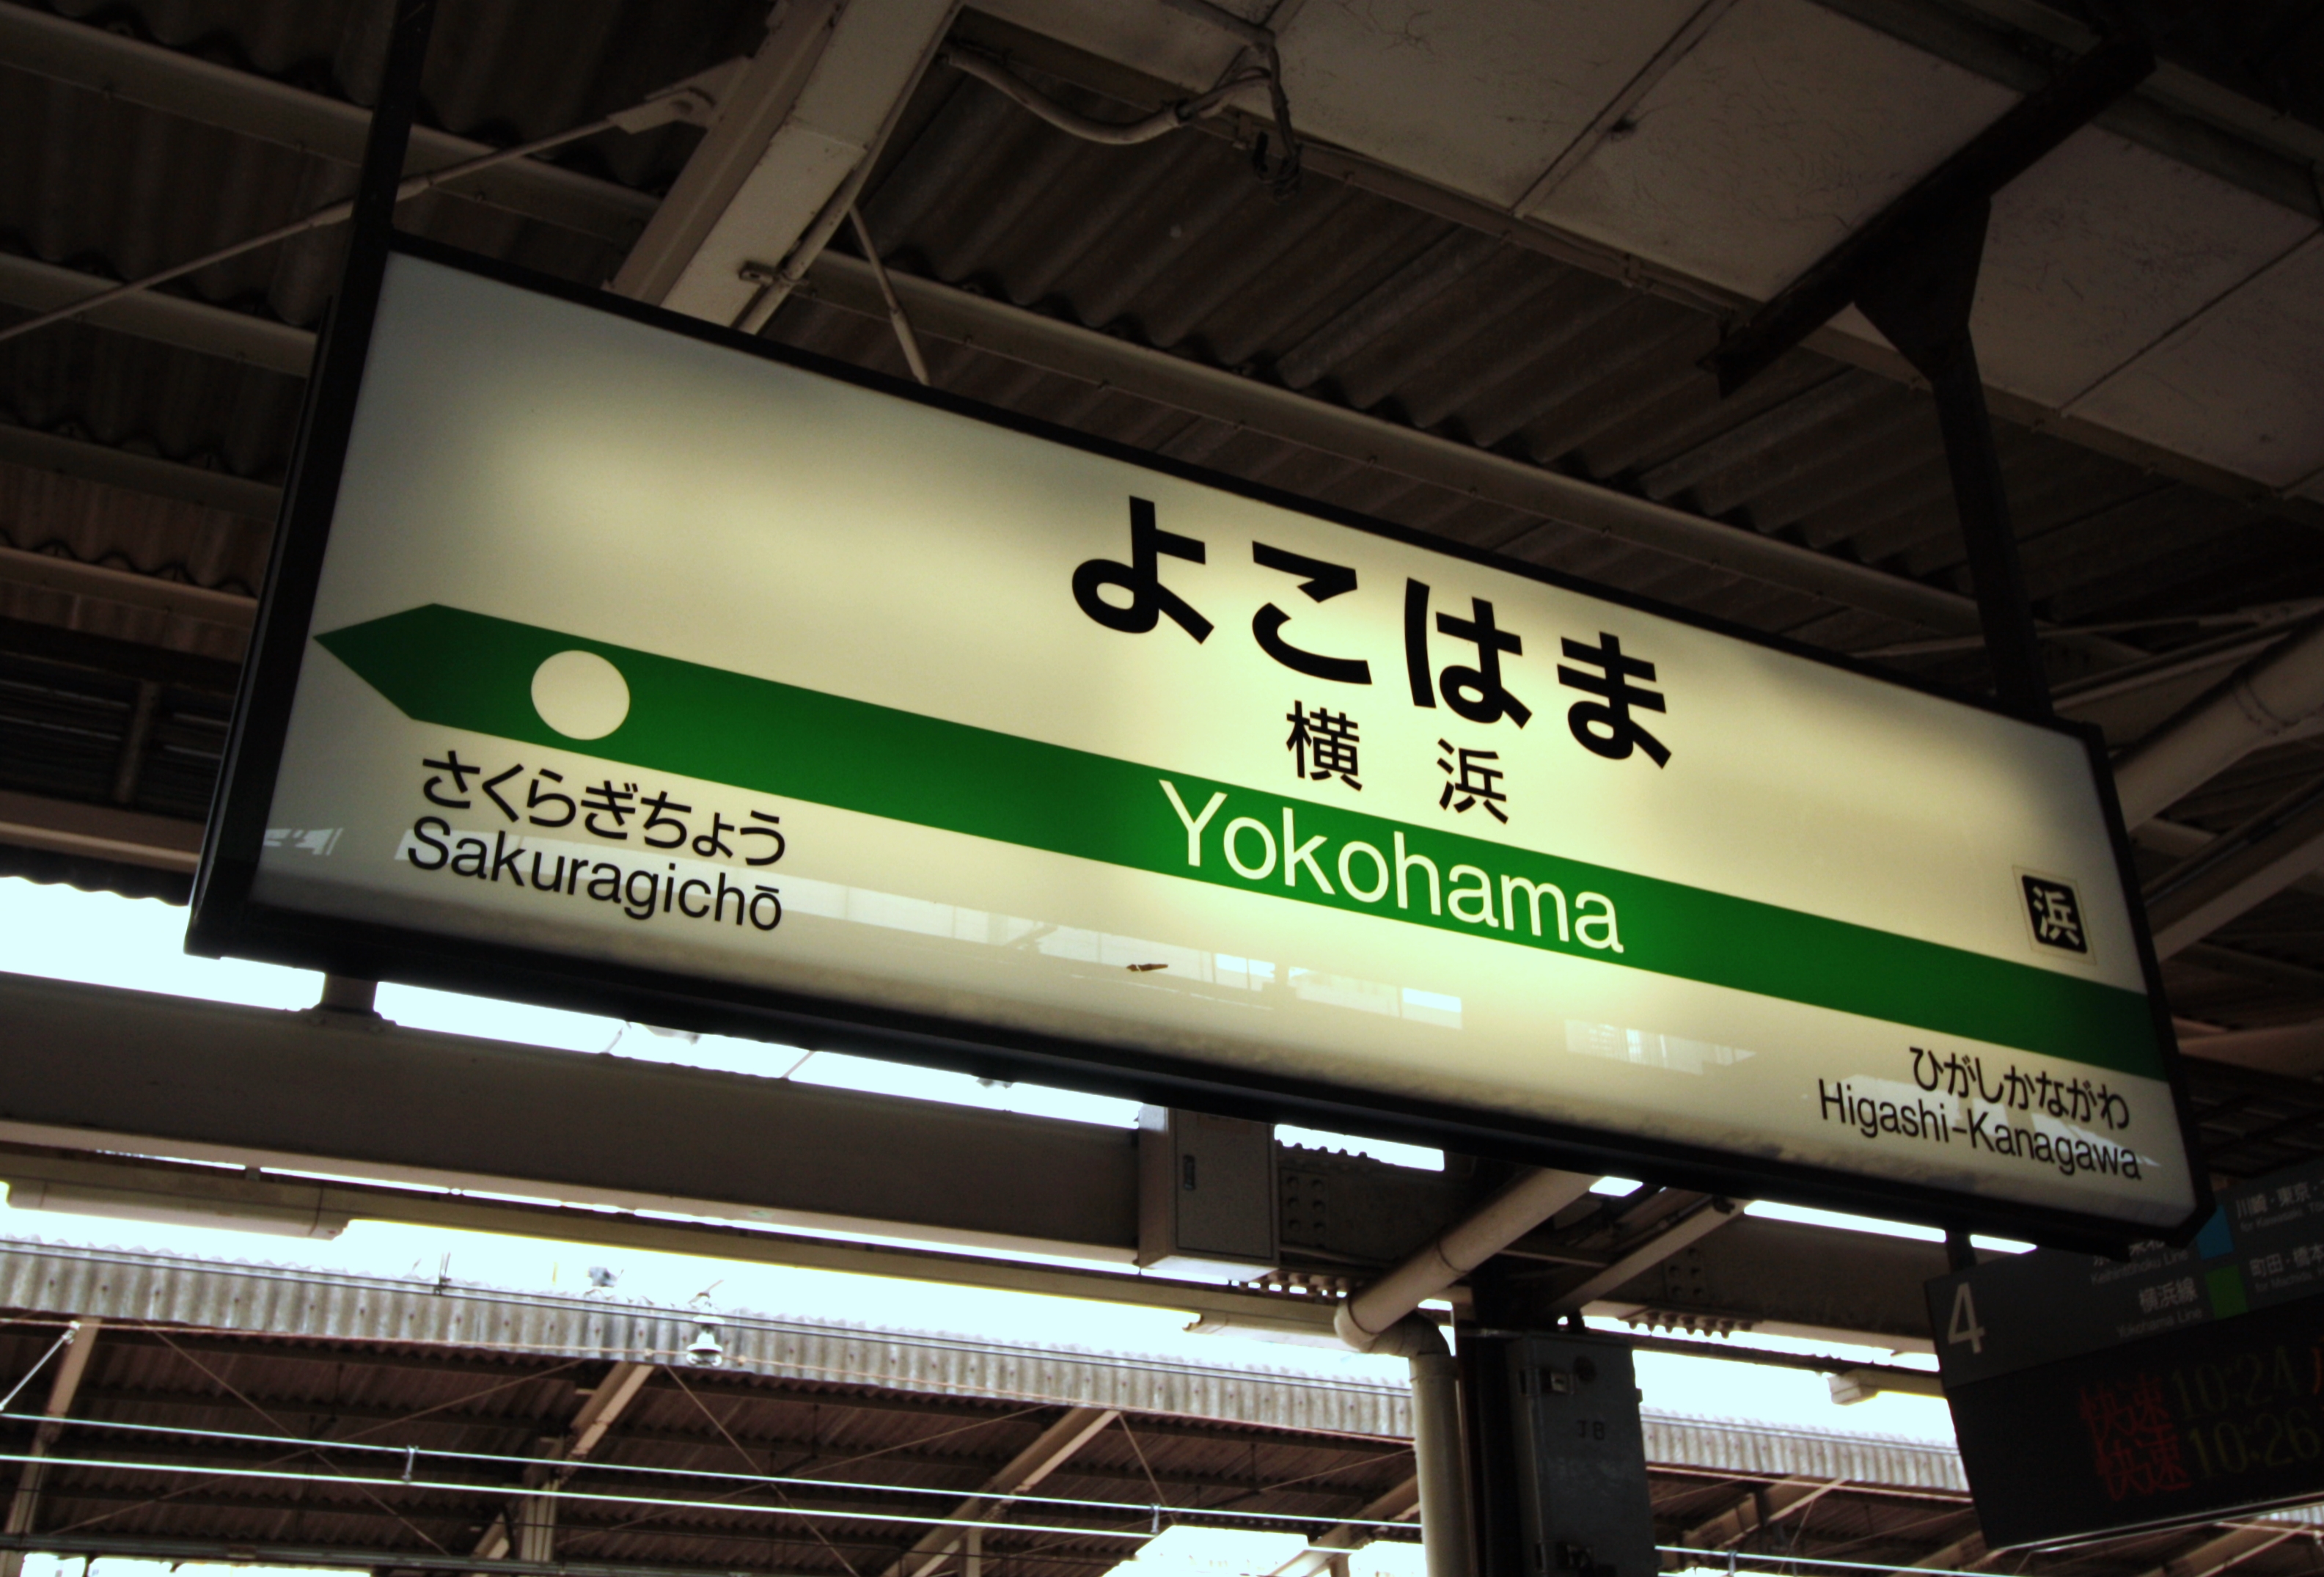
- Use real conventions — for a Japanese city, route numbers and bilingual destinations.
Video chapters
- 0:00Intro
- 1:09Mods you will need
- 1:28Find It
- 2:04Move It
- 2:21Procedural Objects
- 2:33Assets used in this tutorial
- 2:59Gantry assets
- 3:21Dynamic Message Signs
- 4:42Start or continue a save game
- 6:38Using Find It in game
- 6:48Putting down the first gantry
- 7:39Adjusting the gantry with Move It
- 9:11Putting down the Dynamic Message Sign
- 9:21Converting it into a Procedural Object
- 9:38Adding the Procedural Object sign
- 9:48How to move a Procedural Object
- 12:31Adding custom text to your highway sign
- 16:50Experimenting with Procedural Objects (optional)
Clicking a chapter starts the video above at that point.
FAQ
Which mods do I need for custom highway signs?
Find It, Move It and Procedural Objects are required. The gantry and sign assets are your choice — the video uses truss and monotube gantries with Dynamic Message Signs.
Why do I get error messages with the gantry assets?
The gantry networks come with extra assets. Activate all of them, not just the main gantry.
Does this work for other signs?
Yes. Any prop that Procedural Objects can convert can carry custom text — station names, shop signs, street names.