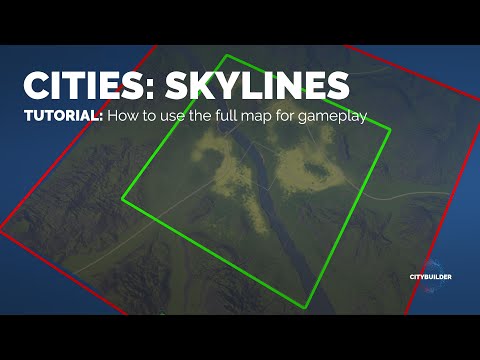
Faster map overlays skip the screenshot stitching. Style a Google map with Google Map Customizer, capture the whole area in one full-page screenshot, scale it to your terrain.party heightmap and export it as the overlay. A second map style with only the water gives you a perfect selection for flattening rivers and coastlines.
準備 · What you need
- terrain.party ↗
- Google Map Customizer ↗ — styles a Google map — hide labels, colour roads and water
- FireShot ↗ — browser extension for full-page screenshots
- Adobe Photoshop — or any image editor with layers
Faster map overlays replace the many-screenshot method from the map overlays tutorial with a single capture. I found this approach a few weeks after publishing the original, and it saves most of the stitching. As a bonus, the same tool gives you a clean selection of every water area, which is the slowest part of fixing a heightmap.
The idea
Instead of stitching dozens of Google Maps screenshots, you style one map in Google Map Customizer, a small web tool that shows a Google map with your own colours and without labels. Then you capture the whole area in one full-page screenshot. Because it’s one image, the scale is consistent from the start.
What you need
- A heightmap from terrain.party for the same area (1:15). Its selection box defines the frame.
- Google Map Customizer to style the map.
- A full-page screenshot extension such as FireShot for Chrome.
- An image editor with layers.
Step by step
- Start from your heightmap. Keep the terrain.party base screenshot. It shows exactly which area the overlay has to cover.
- Style the map in Google Map Customizer (1:53). Hide labels and icons, make roads dark on a light background and give water a strong, unique colour.
- Frame the same area as the heightmap and capture it in one go.
- Open it in your image editor (5:25) and line it up with the base screenshot.
- Make a second capture with a different style (7:05) that shows only water: water in one colour, everything else in another.
- Scale both captures to the final overlay format (10:15). Use the same factor for both.
- Use the water capture to select all water areas with one click on the colour (12:10) and apply that selection to the heightmap.
Why the water map matters
Raw elevation data turns rivers into bumpy grooves and coasts into fuzzy slopes. In the original workflow, selecting every water area by hand takes a long time. With a water-only map, the selection is one click with the magic wand, and it follows the real shoreline exactly. Fill it with a low height value in the heightmap and rivers and bays become flat and clean (13:33).
Tips
- Keep the browser window size fixed while capturing. A different window size changes the scale.
- Zoom in one more level than feels necessary. A sharper capture traces better, and scaling down loses less than scaling up.
- Check the result against the terrain before you export. Coastlines are the quickest test.
Common problems
The capture is cut off. The page didn’t finish loading map tiles before the screenshot. Scroll the whole area once, wait, then capture.
The water selection catches roads. Roads and water have similar colours in your style. Change the water to a colour nothing else uses.
The result
You get a street overlay and a heightmap with clean water in a fraction of the time, ready for the Map Editor. The full process from terrain to traced roads is in the complete realistic maps workflow.
Video chapters
- 0:00Intro
- 0:40The tools you might need
- 1:15Using the terrain.party heightmap
- 1:53Using the Google Map Customizer
- 5:25Using Adobe Photoshop
- 7:05Using a different map for water areas
- 10:15Scaling the screenshots to your final format
- 12:10Selecting the water areas
- 13:33Heightmap with water overlays
Clicking a chapter starts the video above at that point.
Related videos
- (Google) Map Overlays - Use realistic Street Maps - JAPAN Series (11:48)
- Realistic Heightmaps and How to improve these - JAPAN Series (18:49)
- Realistic Maps and Street Map Overlays (40:22)
FAQ
Why is this faster than the original overlay method?
You capture the whole area in one go instead of stitching many single Google Maps screenshots, so the scale is consistent from the start.
How does the water map help?
A second capture styled to show only water gives you a clean selection of rivers, lakes and coast — exactly what you need to flatten water areas in the heightmap.
Does Google Map Customizer still work?
Small web tools come and go. If it's offline, any service that lets you style a map — hide labels, colour roads and water — does the same job.
Can I use this method for Cities: Skylines II?
The image work is the same. Only the import step differs, because CS2 uses its own map editor and heightmap format.